
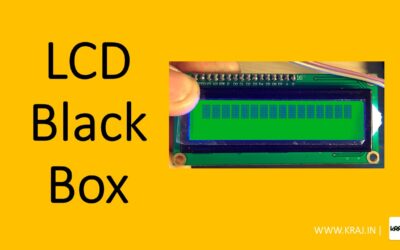
The connections between the LCD display and the Arduino board should be made as follows:
- Connect the VSS pin on the LCD to ground (GND) on the Arduino.
- Connect the VDD pin on the LCD to 5V on the Arduino.
- Connect the V0 pin on the LCD to a potentiometer to adjust the contrast. Connect the middle pin of the potentiometer to the V0 pin and the other two pins to 5V and GND.
- Connect the RS (Register Select) pin on the LCD to digital pin 12 on the Arduino.
- Connect the RW (Read/Write) pin on the LCD to ground (GND) on the Arduino.
- Connect the E (Enable) pin on the LCD to digital pin 11 on the Arduino.
- Connect the data pins D4, D5, D6, and D7 on the LCD to digital pins 5, 4, 3, and 2 on the Arduino, respectively.
Arduino Code:
#include <LiquidCrystal.h>
// initialize the library with the numbers of the interface pins
LiquidCrystal lcd(12, 11, 5, 4, 3, 2);
void setup() {
// set up the LCD’s number of columns and rows:
lcd.begin(14, 2);
// Print a message to the LCD.
lcd.print(“Hello, World!”);
}
void loop() {
// Nothing to do here
}
Upload the code to the Arduino board, and you should see the message “Hello, World!” displayed on the LCD. You can modify the code to display different messages or update the display in real-time using the lcd.setCursor and lcd.print functions.

0 Comments